Flossing your front teeth? That’s easy. But what about those back molars? That’s where most people quietly give up.
If you’ve ever contorted your fingers, gagged slightly, and still felt like you barely reached your back teeth, you’re not alone. The back teeth are the hardest to clean, yet they’re also among the most cavity-prone areas in the mouth. The tight spaces between molars are difficult to reach with a toothbrush alone, making flossing especially important back there.
The good news is that with the right technique and the right tools, flossing your back teeth doesn’t have to be a struggle. Here’s everything you need to know about how to floss your back teeth properly.
Why Your Back Teeth Need Extra Attention
Your molars do the heavy lifting when it comes to chewing. All that grinding and crushing means food debris gets packed into the tight spaces between them, spaces a toothbrush simply cannot reach.
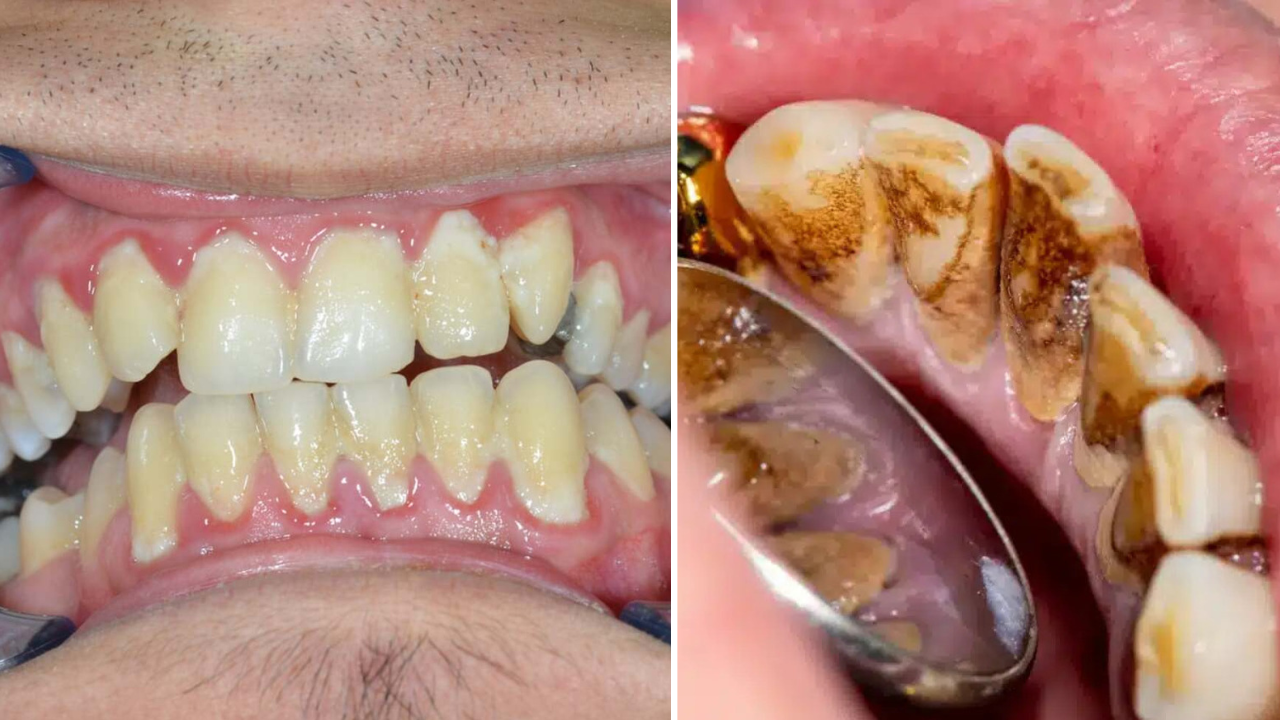
The problem is that many people either skip flossing altogether or only floss the teeth they can easily access. Left uncleaned, these gaps become the perfect environment for plaque to build up. Plaque then hardens into tartar, and eventually leads to tooth decay or gum disease. Because back teeth are harder to see and feel, problems there often go unnoticed until they become more serious. As they get more serious, these problems inevitably become more expensive to treat.
The Right Way to Floss Your Back Teeth
Getting the technique right makes all the difference. Here’s a step-by-step guide to doing it properly.
Step 1: Start with Enough Floss
Use about 45 cm (18 inches) of floss. Wind most of it around your middle fingers, leaving roughly 2–3 cm of clean floss to work with. Using your middle fingers instead of your index fingers gives you more control, especially important when reaching into tight spaces at the back.
Step 2: Guide the Floss Gently Between Your Teeth
Hold the floss tightly between your thumbs and index fingers and ease it carefully between the back teeth using a gentle zigzag motion. Never snap it down into your gums. This can cause bleeding and damage to the gum tissue over time.
Step 3: Curve it Around the Tooth
Once the floss reaches the gumline, curve it into a C-shape around one tooth. Slide it gently up and down along the side of the tooth, going just slightly below the gumline where bacteria like to hide.
Step 4: Repeat on the Adjacent Tooth
Without removing the floss, curve it around the neighbouring tooth and repeat the motion. Each tooth has two sides; make sure you clean both.
Step 5: Move to A Clean Section of Floss As You Go
Reusing the same section of floss simply moves bacteria from one gap to the next. Unwind a fresh section for each new pair of teeth.
Step 6: Don't Forget The Very Last Tooth
The back surface of your last molar is one of the most neglected spots in the entire mouth. It still needs to be cleaned, even though there’s no adjacent tooth next to it. Wrap the floss around the back surface and clean it thoroughly.
Tools That Make It Easier
Let’s be honest: traditional string floss isn’t the most back-teeth-friendly tool in the world. If you find it difficult or uncomfortable, there are several alternatives worth trying.
Floss Picks

Floss picks are small, pre-threaded devices that hold the floss for you, so there’s no finger-wrestling involved. They’re especially useful for reaching the back of the mouth. The downside is that you’re using the same piece of floss for every tooth, which isn’t as hygienic as working through fresh string floss.
Interdental Brushes

Interdental brushes are tiny cylindrical brushes that fit between teeth. They come in different sizes and can be very effective for people with wider gaps between their back teeth. If you have braces, a bridge, or implants, interdental brushes may work better than floss.
Water Flossers

A water flosser uses a pressurised stream of water to flush out debris and bacteria from between teeth and along the gumline. They’re particularly popular with patients who struggle with manual dexterity, have dental work at the back of their mouth, or simply find traditional flossing uncomfortable. They work best as a complement to regular flossing rather than a full replacement.
| Tool | Best For | Ease of Use | Effectiveness |
|---|---|---|---|
| String Floss | Most People | Moderate | High |
| Floss Picks | Beginners, on-the-go | Easy | Moderate |
| Interdental Brushes | Wider haps, dental work | Easy | High |
| Water Flosser | Difficulty with manual flossing | Very Easy | High |
Common Mistakes to Avoid
Even people who floss regularly can fall into habits that reduce its effectiveness. Here are some common mistakes to look out for.
Snapping the Floss into Your Gums
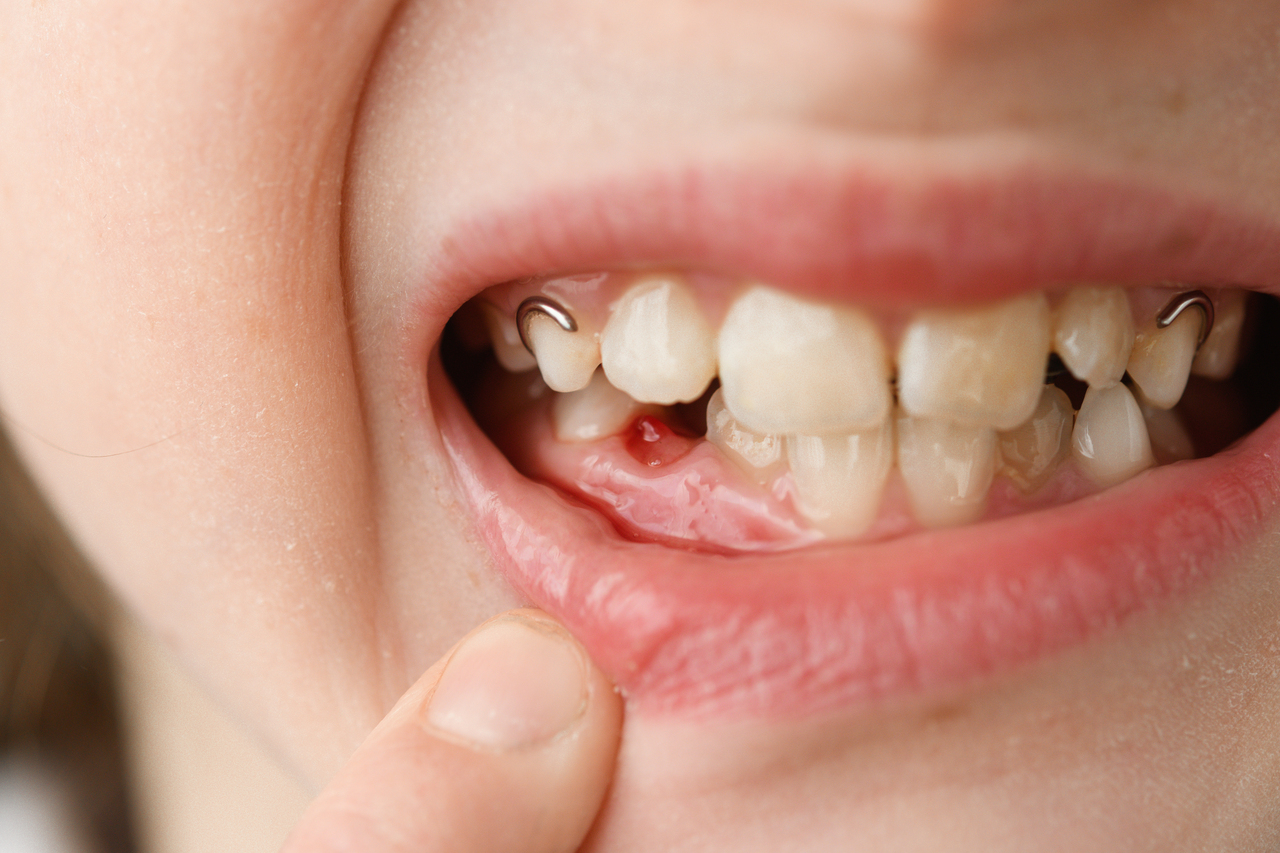
Snapping the floss into your gums while flossing causes unnecessary trauma to the delicate gum tissue surrounding your teeth. This aggressive technique can result in immediate discomfort, leading to your gums bleeding. This also consistently traumatises the gums which can contribute to gingival recession, where the gum tissue pulls away from the tooth, exposing the root surface over time.
Only Moving the Floss Up and Down
You need to curve the floss around each tooth and go slightly below the gumline, not just pass it through the gap. This approach is necessary because plaque and food debris often accumulate right where the tooth meets the gum, an area the floss might miss if simply moved straight up and down. By curving the floss into a ‘C’ shape against the tooth and gently sliding it beneath the gumline, you ensure you are scraping away the buildup in this critical area, which is vital for preventing gum disease and cavities.
Rushing Through It
Taking the time to focus on each tooth individually is crucial for effective flossing, as plaque is often hidden and firmly attached, requiring direct contact to be dislodged. Rushing through the process increases the likelihood of simply gliding over the plaque or not maneuvering the floss properly below the gum line, leaving harmful bacteria to thrive. Therefore, dedicating a few seconds to carefully wrap the floss around each tooth in a ‘C’ shape and gently move it up and down ensures that you are actually scraping the sticky film off the entire surface.
Stopping Because Your Gums Bleed
Bleeding gums are often a sign of inflammation caused by plaque buildup. This means that the area needs more thorough cleaning, not less. With consistent and proper flossing, most people find that any gum bleeding reduces significantly or stops entirely within a couple of weeks.
Flossing Only When You Remember
Consistency is everything when it comes to maintaining proper oral hygiene and preventing dental issues. Plaque, the sticky film of bacteria that constantly forms on your teeth, can begin hardening into tartar (calculus) within a matter of days if not removed regularly. Therefore, daily flossing is the only reliable way to interrupt this process and stay ahead of the buildup that leads to cavities and gum disease.
How Often Should You Floss Your Back Teeth?
You should floss your back teeth daily, with no exceptions.
Most dental health guidelines recommend flossing once a day, ideally before brushing so that loosened debris gets swept away rather than left in the mouth. Whether you do it in the morning or at night comes down to personal preference, but many dentists recommend flossing before bed so your mouth isn’t sitting with dislodged bacteria overnight.
If you’ve never flossed consistently before, it might feel awkward or uncomfortable at first. That’s completely normal. Stick with it for a couple of weeks and it will start to feel like second nature.
When to See a Dentist
Flossing is essential, but it’s not a substitute for professional cleaning. Even the most diligent flosser can’t remove tartar once it has hardened. Removing hardened tartar requires a professional scale and polish.
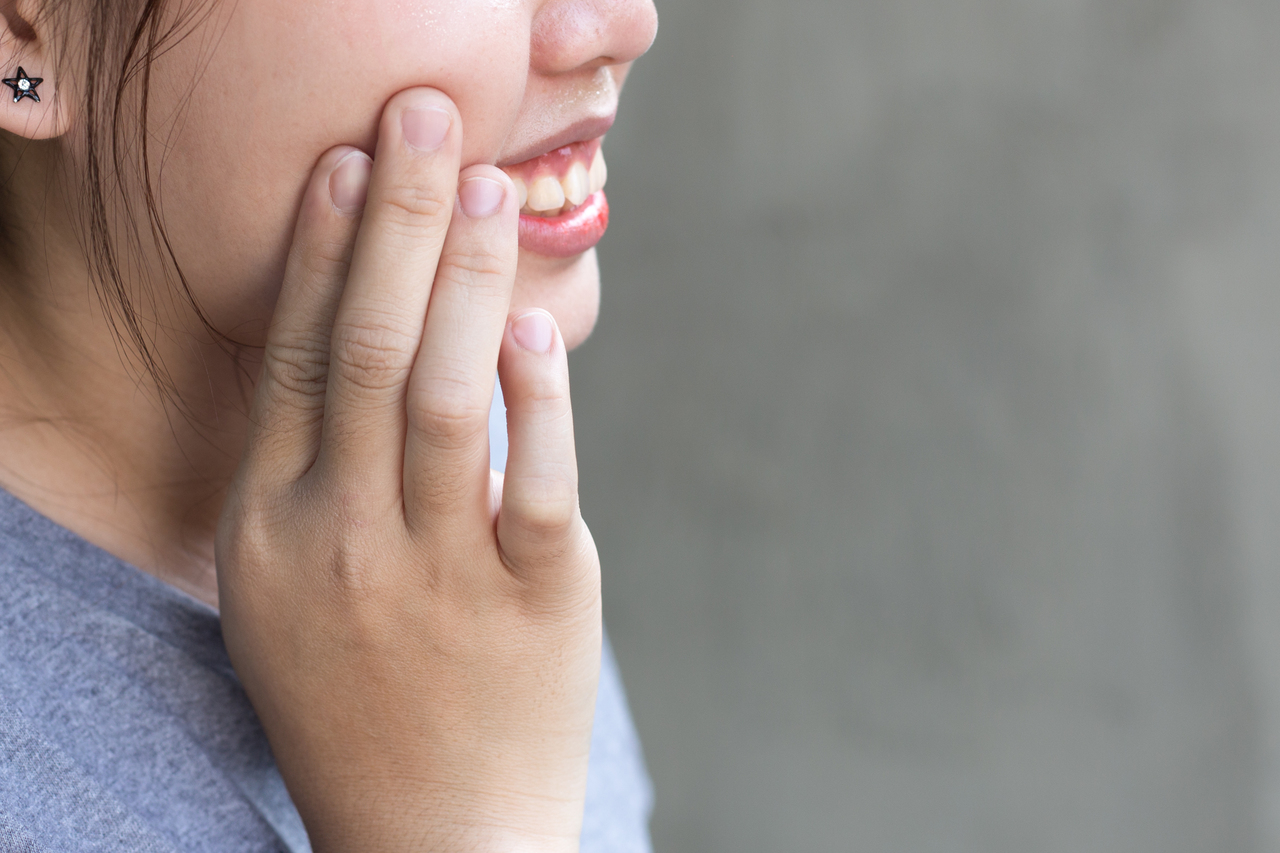
Visit your dentist every six months for a routine check-up and cleaning. If you notice persistent bleeding, swelling, or pain around your back teeth when flossing, it’s worth booking an appointment sooner. These could be early signs of gum disease or a cavity developing between the teeth.
The earlier a problem is caught, the simpler (and less costly) the solution tends to be.
Final Thoughts on Flossing Your Back Teeth
Flossing your back teeth properly is one of the simplest things you can do to protect your long-term oral health. It takes less than two minutes a day, and the difference it makes with fewer cavities, healthier gums, fresher breath is indeed well worth the effort.
If you’re unsure whether your technique is right, or if you’d like personalised advice on the best tools for your teeth, the team at Klinik Pergigian Dens Care in Bandar Sri Permaisuri, Cheras is happy to help. Sometimes a quick demonstration from your dentist is all it takes to turn a frustrating habit into an effortless one.